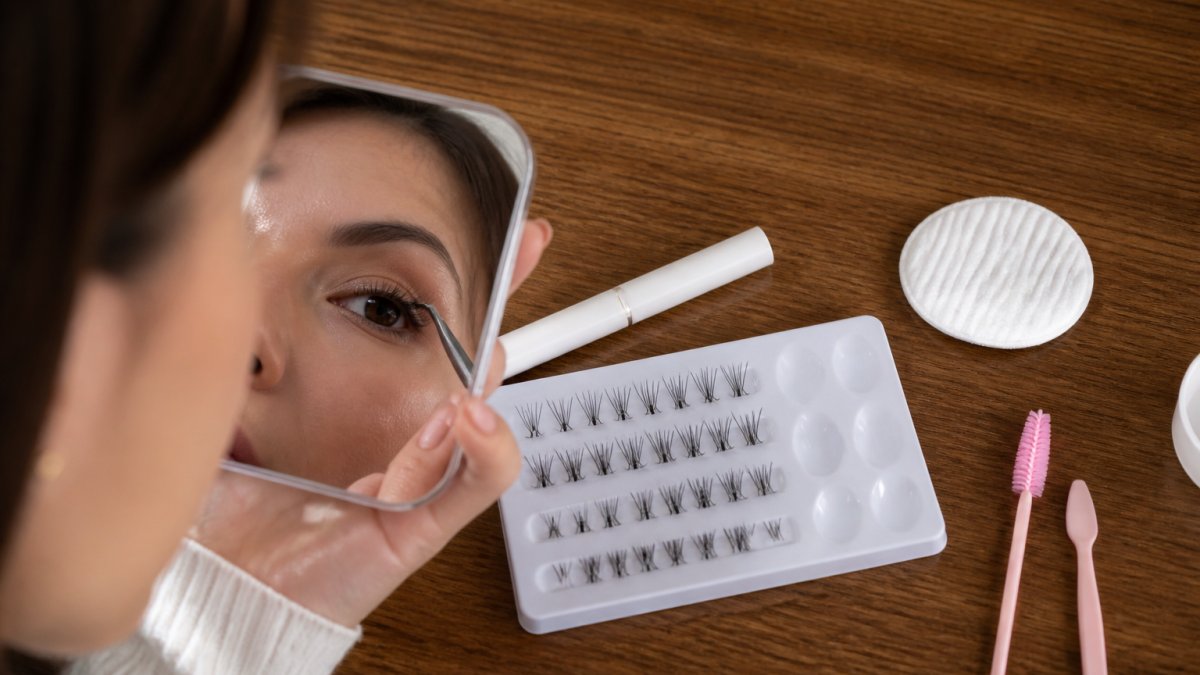
 ultimate-guide
DIY Lash Mapping for Beginners: A 2026 Guide
Table of Contents
- What Is Lash Mapping and Why It Matters for DIY Application
- Understanding Eye Shapes: The Foundation of Your Lash Map
- Essential Tools and Products for DIY Lash Mapping
- Natural Looking DIY Lash Styles: Choosing Your Lash Map
- Step-by-Step Lash Mapping Application Process
- How to Troubleshoot DIY Lash Retention and Common Failures
- DIY Lash Mapping Tools and Templates to Get Started
- Maintenance, Removal, and Safety for DIY Lash Extensions
- Frequently Asked Questions
Last Updated: September 30, 2026
What Is Lash Mapping and Why It Matters for DIY Application
Lash mapping is the process of creating a customized placement plan for lash clusters based on your unique eye shape, size, and desired look, essential knowledge for DIY lash mapping beginners. Rather than applying lashes randomly across your lash line, mapping ensures each cluster lands exactly where it should for maximum retention, comfort, and a polished appearance. This foundational technique separates DIY results that last from those that fall out within days.
Beginners who skip mapping struggle with retention and uneven application. A 10-minute mapping session makes application straightforward and ensures clusters stay put. A well-mapped lash line distributes weight evenly, prevents gaps, and creates a polished, intentional look.
Most DIY failures stem from applying clusters without a plan, resulting in bunching at the inner corner, sparse middle coverage, and misaligned clusters. Mapping eliminates this guesswork.
Understanding Eye Shapes: The Foundation of Your Lash Map
Your eye shape determines lash placement, length, and style. Skipping this step means applying a generic style that may not suit you. The mapping process starts here.
Identifying Your Eye Shape
Almond eyes are slightly wider at the center with a subtle lift at the outer corner, offering flexibility with most lash styles.
Round eyes need lift and elongation at the outer corner to balance roundness. Lashes should be shorter at the inner corner, gradually increasing toward the outer corner.
Hooded eyes have a fold of skin covering the lid. They need shorter lashes overall (to avoid poking into the hood) and strategic placement to create the illusion of more lid space.
Monolid eyes have little to no visible crease. Lashes should be applied slightly higher on the lash line with more dramatic length to create definition.
Downturned eyes angle downward at the outer corner. Place longer lashes at the outer corner to lift and counteract this angle, with shorter lashes at the inner corner.
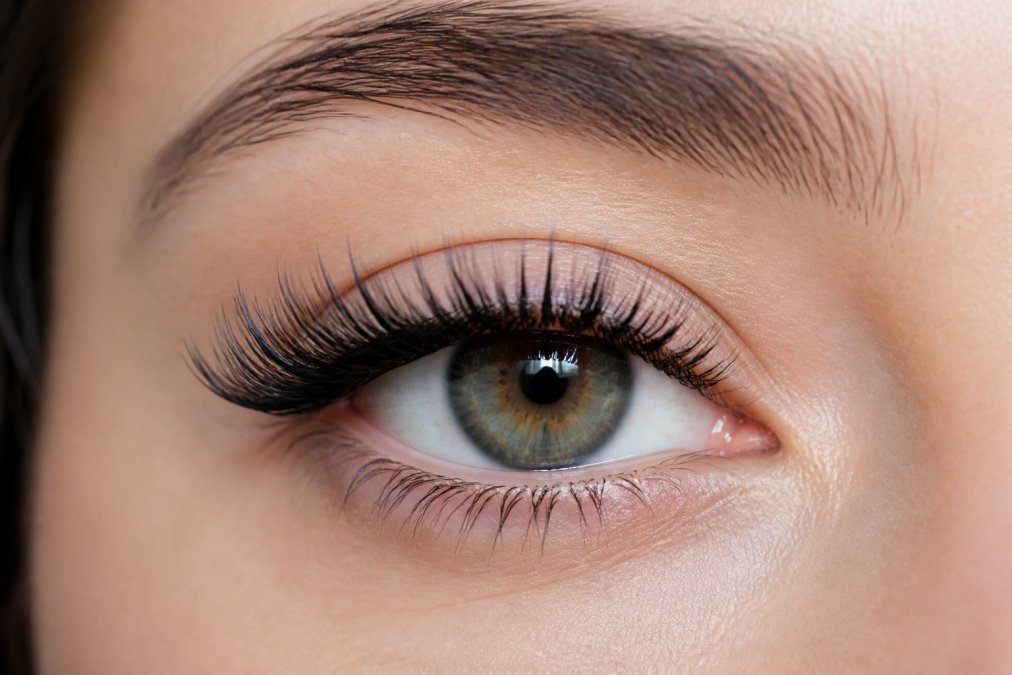
To identify your eye shape, take a straight-on selfie with natural lighting and no makeup. Note whether your eye lifts up, drops down, or stays level, whether there's a visible crease, and whether skin folds over your lid.
Lash Mapping for Hooded and Monolid Eyes
Hooded and monolid eyes need special attention because standard guides often fail them. If you've had discomfort or irritation before, it's a mapping issue, not a skill issue.
For hooded eyes: Map clusters with shorter lengths overall, inner corner at 8-10mm, building to 12-14mm at the outer corner. Place clusters slightly higher on your natural lash line to position them above the fold, ensuring visibility and comfort.
For monolid eyes: Map lashes to create dimension, inner corner at 10-12mm, building to 14-16mm at the outer corner for a subtle cat-eye effect. Apply clusters in a tight pattern every 2-3mm for density and definition.
Essential Tools and Products for DIY Lash Mapping
Lash tweezers are essential, one straight-tipped pair for picking up clusters and one curved pair for placement. Invest in tweezers with a good grip and fine tips.
A lash mapping template shows exactly where to place clusters for your eye shape, eliminating guesswork.
Natural Looking DIY Lash Styles: Choosing Your Lash Map
Once you understand your eye shape, you choose a lash style that complements it. The style determines your mapping strategy.
Cat Eye vs. Doll Eye vs. Natural Look
Cat eye style creates dramatic lift at the outer corner. Map with short lashes at the inner corner (8-10mm), building to 16-18mm at the outer corner. Works well for almond, round, and downturned eyes.
Selecting Lash Length and Curl Type
Lash length and curl type directly impact how your final look appears and how comfortable the lashes feel.
Step-by-Step Lash Mapping Application Process
Now that you understand your eye shape and chosen style, DIY lash mapping beginners can move forward with the actual mapping and application, which becomes systematic.
Mapping Your Lash Placement
Start with a clean, dry lash line. Cleanse with a mild cleanser to remove oils and makeup residue that prevent adhesive bonding.
Applying Lash Clusters to Your Map
Pick up a cluster with straight-tipped tweezers. Dip the base into adhesive, a small bead is sufficient.
How to Troubleshoot DIY Lash Retention and Common Failures
Poor retention is the most common DIY complaint. Clusters falling out within days usually indicates a fixable technical issue.
DIY Lash Mapping Tools and Templates to Get Started
The right tools accelerate your learning curve significantly.
Lash mapping templates are available as printable PDFs or digital files. These show you exactly where to place clusters for different eye shapes and styles. Rather than guessing, you follow the template. Lash Girl USA provides templates for almond, round, hooded, monolid, and downturned eyes, plus separate templates for cat eye, doll eye, and natural styles.
Maintenance, Removal, and Safety for DIY Lash Extensions
Your lashes can last longer with proper care. Neglect them, and they'll fall out faster and look messy.
Frequently Asked Questions
What is lash mapping for DIY clusters?
Lash mapping is a technique where you plan the placement, length, and density of lash clusters across your lash line based on your specific eye shape. It involves dividing your eye into zones (inner corner, center, and outer corner) and deciding which cluster lengths and styles go in each zone. This planning step prevents uneven application and ensures your lashes look balanced and intentional rather than randomly placed.
How do I choose the right lash map for my eye shape?
Start by identifying your eye shape: round, almond, hooded, monolid, or downturned. For round eyes, a cat eye style (longer outer corners) creates definition. For hooded or monolid eyes, focus clusters in the center and inner areas to maximize visibility. Measure your eye width and compare it to your lash cluster lengths to ensure proportions look natural. Using a lash map template specific to your eye shape takes the guesswork out of cluster placement.
Why do my DIY lash clusters keep falling out after a few days?
Poor retention usually stems from three issues: inadequate lash adhesive application, placing clusters on the natural lash (not the lash line), or insufficient contact between the cluster band and your lash line. Ensure you're using enough adhesive, waiting 30 seconds for it to become tacky before application, and pressing each cluster firmly onto the lash line for 10-15 seconds. Also verify you're not applying clusters too close to the inner corner where the lash line is thinner and weaker.
What tools do I actually need to start DIY lash mapping?
Essential tools include precision tweezers (one for handling clusters, one for placement), a good lash adhesive designed for cluster application, a lash map template or printable guide, a magnifying mirror or ring light for visibility, and lash clusters in multiple lengths. Optional but helpful tools are a lash applicator pen, a patch test kit to check for allergies, and a lash removal solution. You don't need expensive salon-grade equipment to get professional results at home.
Can I safely apply lash clusters if I have sensitive eyes?
Yes, but take precautions. Always perform a 24-hour patch test with your chosen lash adhesive on a small area of skin near your eye to check for allergic reactions. Use hypoallergenic lash adhesive formulated for sensitive eyes, and avoid getting adhesive in your eye during application. If you experience redness, itching, or irritation during or after application, remove the clusters immediately and discontinue use. Consider consulting an eye care professional if sensitivity persists.
How long do DIY lash clusters typically last?
With proper application and maintenance, DIY lash clusters can last longer before natural lash shedding causes them to fall out. Your natural lashes shed on a growth cycle, and clusters are attached to individual lashes, so they fall out as your natural lashes do. Proper aftercare, avoiding oil-based products, not rubbing your eyes, and using a lash brush daily, can help clusters last longer.
What's the cost-per-wear advantage of DIY lash clusters versus salon visits?
DIY lash clusters cost significantly less per application than salon appointments when calculated over time. A set of lash clusters and adhesive can be used for multiple applications, and since clusters last 2-4 weeks, one starter kit covers several applications. Salon visits typically require appointments every 3-4 weeks, and costs add up quickly. With DIY application, you control your product choices and can start with budget-friendly options, then upgrade as you gain confidence and skill.
How do I remove DIY lash clusters without damaging my natural lashes?
Use a dedicated lash removal solution specifically formulated to dissolve cluster adhesive, never pull clusters off manually. Apply the removal solution along your lash line with a small brush or applicator, wait 2-3 minutes for the adhesive to soften, then gently slide clusters off with tweezers using downward pressure. Work slowly and carefully, testing adhesive breakdown before applying pressure. If clusters resist, apply more solution and wait longer rather than forcing removal, which risks damaging your natural lashes.