 blog
blog
Affordable DIY Lash Extension Kits: Beginner's Guide
Table of Contents
- What Makes a Good Affordable DIY Lash Extension Kit
- How Long Do DIY Lash Extensions Last and What Affects Retention
- Lash Mapping for Beginners: Finding Your Best Look
- Best Lash Bond and Seal for Beginners: What You Need to Know
- Step-by-Step Application Guide for DIY Lash Extension Kits
- Safe Removal and Protecting Your Natural Lashes
- Sensitive Eyes and Allergic Reaction Management
- Frequently Asked Questions
Last Updated: September 23, 2026
What Makes a Good Affordable DIY Lash Extension Kit
When choosing affordable DIY lash extension kits, quality matters as much as price, the difference between professional results and disappointment comes down to a few key components.
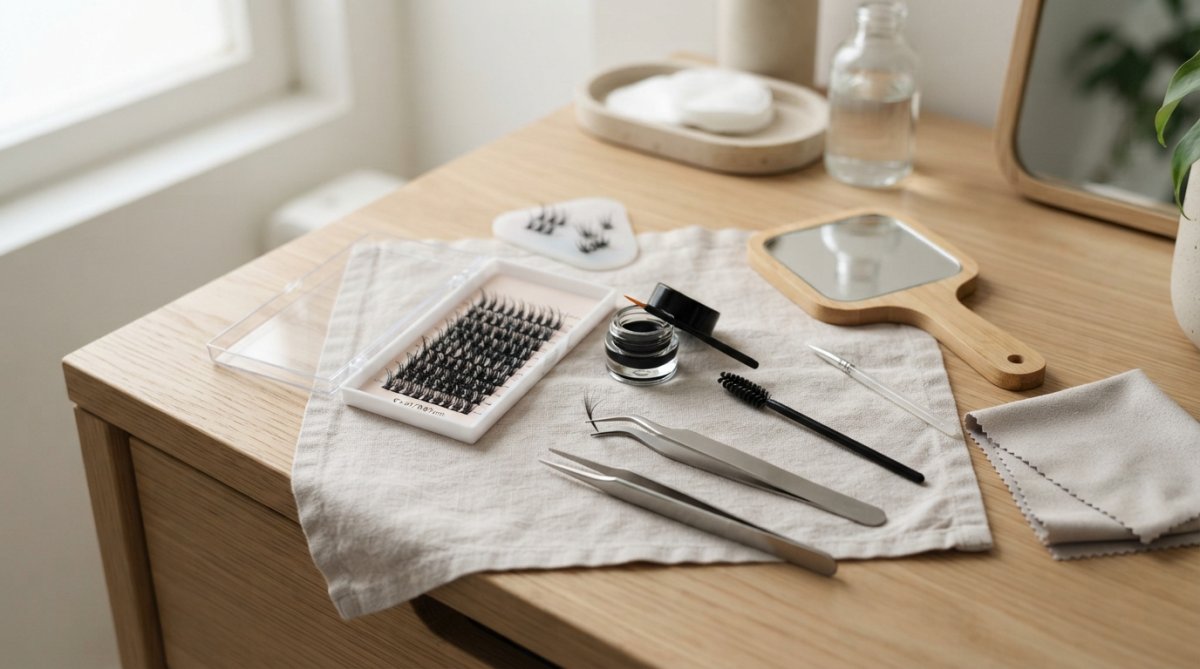
A solid beginner kit includes lash clusters in multiple lengths and styles, reliable adhesive safe for sensitive eyes, precision tweezers for placement, a lash remover for safe takeoff, and a sealant to extend retention.
Look for brands that list adhesive ingredients openly and offer fume-free formulas. Knot-free lash clusters apply more smoothly and look more natural. Choose synthetic fibers in versatile styles like wispy or natural looks.
Poor retention after two days signals low-quality adhesive or inadequate prep. Premium affordable options bridge the gap between budget kits and professional results.
How Long Do DIY Lash Extensions Last and What Affects Retention
DIY lash extensions typically last 3-7 days with proper application, while professional salon extensions last 3-4 weeks. Understanding what affects retention helps you get closer to professional results.
Natural lash shedding is the biggest factor. Your lashes naturally fall out every 60-90 days as part of your growth cycle, which is why some people report clusters falling out after two days while others get a full week.
Adhesive quality directly impacts retention. Fume-free formulas have slightly shorter hold times but are essential for sensitive eyes. Bond strength also depends on lash prep, oil, makeup residue, or moisture breaks the bond within hours.
Application technique matters enormously. Placing clusters too far from the base wastes adhesive coverage, while too much adhesive reduces retention by seeping into the follicle instead of creating a solid bond.
Environmental factors also matter: heat, humidity, water exposure, sleeping on your face, and rubbing your eyes can cut retention in half.
Lash Mapping for Beginners: Finding Your Best Look
Lash mapping is planning your placement before application, the difference between random results and a styled look that flatters your eye shape.
Different eye shapes suit different densities and lengths. Wide-set eyes benefit from denser inner clusters; close-set eyes need more outer volume; hooded eyes need longer outer clusters; small eyes should avoid heavy volume.
Identify your eye shape by holding a mirror at eye level and drawing an imaginary line from inner to outer corner. If the outer corner sits above that line, you have upturned eyes; below means downturned; straight across means almond-shaped.
Plan density and length: inner third (shorter, natural), middle third (medium), outer third (longer, more volume). For upturned eyes, keep outer third moderate; for downturned eyes, add more outer volume to create lift.
The lash style you choose matters too. Wispy lashes suit most eye shapes because they blend natural and dramatic. Mega volume works best on larger eyes with more lid space. Natural look clusters work for any eye shape but require precise placement to avoid gaps.
Best Lash Bond and Seal for Beginners: What You Need to Know
The adhesive you choose determines whether your extensions stay on for three days or seven. For beginners, the best lash bond balances strength, safety, and ease of use.
Lash adhesive bonds synthetic fibers to natural lashes through a chemical reaction that cures as it dries. Fume-free formulas are safer for sensitive eyes but cure slower (60-90 seconds) than standard adhesives (30-60 seconds), which produce stronger fumes.
For beginners, fume-free adhesive is smarter: slower cure (60-90 seconds) gives more positioning time, and slightly reduced retention is worth the safety gain.
Lash sealant is the often-overlooked second step. After your clusters cure, a sealant seals the bond and extends retention. It's not required, but it's genuinely worth using. Sealant adds 2-3 extra days of hold on average. Apply it 24 hours after your initial application, once the adhesive has fully cured.
Check ingredient lists before buying. Avoid adhesives with formaldehyde or parabens if you have sensitive skin. Hypoallergenic formulas exist and work just as well. If you're prone to allergic reactions, do a patch test: apply one cluster to a small area and wait 24 hours before full application.
Step-by-Step Application Guide for DIY Lash Extension Kits
Applying lash clusters at home is learnable, but technique matters. Follow these steps to maximize retention and minimize frustration.
Preparing Your Natural Lashes
Start with clean lashes. Use a gentle lash cleanser or diluted baby shampoo to remove makeup, oil, and dust. Rinse thoroughly and pat dry with a lint-free cloth. Any moisture on your lash line weakens adhesive bonding.
After washing, wait 10 minutes before applying clusters. This allows natural oils to return slightly, which actually improves adhesion.
Position yourself in good lighting. A desk lamp or ring light is essential. You need to see your lash line clearly to place clusters accurately. Dim lighting is the fastest way to create gaps and poor placement.
Applying Lash Clusters Correctly
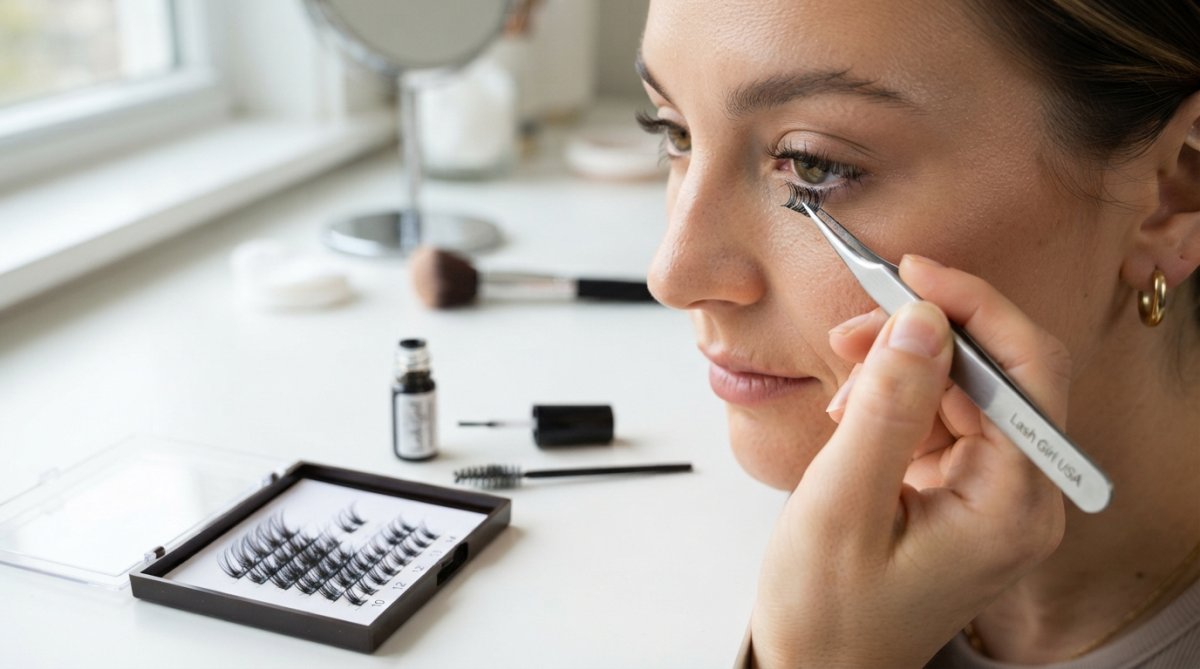
Pick up one cluster with your lash tweezers. Dip the base into adhesive, just the knot area, not the entire base. Too much adhesive wastes product and creates irritation. Too little means weak hold.
Locate the natural lash you're applying to. Position the cluster at a 45-degree angle and place it at the base of your natural lash, as close to the root as possible. Hold it steady for 10-15 seconds while the adhesive begins to cure.
Work from the inner corner outward. This prevents you from accidentally bumping clusters you've already placed. Apply clusters to every 3-5 natural lashes, depending on your desired density.
Vary your cluster lengths and styles to match your lash map. Don't apply all long clusters in a row or all short ones. Mix lengths to create dimension and a more natural appearance.
Allow 24 hours for full adhesive cure before getting your lashes wet. Water exposure during this window weakens the bond significantly.
Common Application Mistakes to Avoid
The biggest mistake is applying clusters too far from the natural lash base. When clusters sit even 1-2mm away, the adhesive doesn't form a strong bond. Your natural lash bends and flexes, pulling the cluster away from the adhesive. This is why many beginners experience immediate fallout.
Using too much adhesive is the second major error. Excess adhesive seeps into the lash follicle, causing irritation and potentially damaging the hair root. It also wastes product and makes cleanup harder. A tiny dab is all you need.
Applying to wet lashes is another common problem. Even if your lashes feel dry, residual moisture breaks adhesive bonds. Always allow at least 10 minutes after cleansing before application.
Many beginners also apply clusters at the wrong angle. If your natural lashes grow straight out, your clusters should too. Applying at a steep angle makes them look unnatural and reduces contact with the adhesive.
Finally, avoid touching your lashes while the adhesive cures. Even light pressure can shift clusters and create weak bonds.
Safe Removal and Protecting Your Natural Lashes
Improper removal damages natural lashes more than application does. The clusters are semi-permanent, but your natural lashes are irreplaceable.
Use a dedicated lash remover, never adhesive remover or acetone. Lash removers are formulated to dissolve the bond without harming your natural lashes. Apply remover to the base of each cluster and wait 2-3 minutes for the adhesive to soften. Gently wiggle the cluster side to side until it releases. If it resists, wait longer instead of pulling.
Never yank clusters off. This pulls out natural lashes along with the extension. Patience during removal is the single best way to protect your lash health.
After removal, your natural lashes need recovery time.
Sensitive Eyes and Allergic Reaction Management
Sensitive eyes are common with lash extensions. The adhesive, synthetic fibers, or application process can trigger reactions. Understanding the difference between normal irritation and an allergic reaction helps you respond appropriately.
Frequently Asked Questions
How long do DIY lash extensions typically last if applied correctly?
When applied properly, DIY lash clusters usually last 2-4 weeks. Retention depends on your application technique, the quality of your lash bond and seal, how well you prepared your natural lashes, and your daily habits. Proper aftercare, avoiding water for 24 hours, not rubbing your eyes, and using a lash sealant, can extend their lifespan. Poor retention often signals an application issue rather than a product problem.
What should I look for in a beginner-friendly lash bond and seal?
Choose a fume-free, hypoallergenic adhesive designed for sensitive eyes if you're prone to irritation. Look for products with clear application instructions and a consistency that's easy to control, too thick and it's hard to place, too thin and lashes won't hold. A dedicated sealant that bonds and seals your lash clusters provides better retention than adhesive alone. Always patch test 24 hours before full application.
Can lash mapping help me figure out what style works for my eye shape?
Yes. Lash mapping for beginners involves identifying your eye shape, round, hooded, almond, or downturned, and choosing cluster styles and placements that complement it. For hooded eyes, shorter clusters on the inner lash line work better; for almond eyes, wispy and volume styles create drama. Proper mapping prevents a one-size-fits-all approach and helps you achieve a natural, proportional look that flatters your features.
Are DIY lash extension kits safe for my natural lashes?
When used correctly, they're safe. The biggest risks come from improper removal (which can pull out natural lashes), using low-quality adhesives that irritate the lash line, or applying clusters too close to the skin. Protect your lash health by using fume-free products, testing for allergic reactions first, removing lashes gently with proper remover, and giving your natural lashes breaks between applications. If you experience redness or irritation, stop and consult a healthcare provider.